
Every spring, I watch the same thing happen in gardens all over town. People start seeds in a bag of sterile mix, the seedlings come up thin and pale, and by the time they go outside they look like they've been held back a grade. Then those same people wonder why their tomatoes take all summer to do anything. Nine times out of ten, the problem is that the plant never had anything to eat from the moment it sprouted. The mix held moisture and air, but it held no food, and a seedling can't make a vegetable out of nothing.
That's where worm castings come in. I've been gardening organically for about twenty years now, and for the last three seasons I've used Wiggle Worm pure worm castings in just about everything I start from seed, plus every potted plant I keep on the porch. It's not a fertilizer in the way you might think, and it won't do the work for you. But it will give your seedlings a steady, gentle supply of what they need, and it's about the hardest thing to mess up that I know of. If you're new to seed starting, or if your seedlings always look a little hungry no matter what you do, this is the amendment to start with.
I should say up front that I'm not a soil scientist, and I don't pretend to be one. I'm a retired school nurse who has been gardening for about twenty years on a half-acre lot at the edge of a small town in the Arkansas Ozarks. My native soil is rocky red clay, which is why I garden in raised beds and build soil the slow way. Everything I tell you here is something I've actually done, including the mistakes, and the methods are simple enough that you can steal them without any special equipment.
Start your seedlings with a bag of pure castings
Wiggle Worm 100% Pure Organic Worm Casting Fertilizer is OMRI listed, comes as easy-to-spread granules, and is the only amendment I've used three seasons running in my seed trays. It feeds gently, improves soil structure, and is hard to overdo.
Amazon Check Today's Price on Amazon →Step 1: Buy castings that are actually pure
The first thing to understand is that not everything sold as worm castings is just worm castings. Some bags are blends, with compost or peat or synthetic fertilizer mixed in. Blends have their place, and I've used them for other jobs around the garden, but they make it hard to know what you're actually feeding your seedlings. For seed starting, I want one ingredient, and I want the bag to say so. If the label doesn't say 100% pure castings, keep looking.
Wiggle Worm's bag says 100% pure castings, and it's OMRI listed, which means an independent organization has checked that it's organic. The castings come as granules, which matters more than you'd think. They mix evenly through seed starting mix without clumping, and they don't form a crust on top of the soil the way some fine powders do. Granules also break down slowly, which is exactly what you want for a seedling that's going to sit in a tray for weeks before it goes outside.
A 4.5 pound bag sounds small, but a little goes a long way. I use maybe a third of a bag for a whole spring of seed trays, and the rest carries me through transplanting and top dressing. The bag holds 260 cubic inches, which is enough to cover a surprising amount of soil when you're mixing it thin. Store it somewhere dry and it keeps fine from one season to the next, so there's no reason to buy more than you'll use.
Step 2: Mix castings into your seed starting mix before you fill the trays
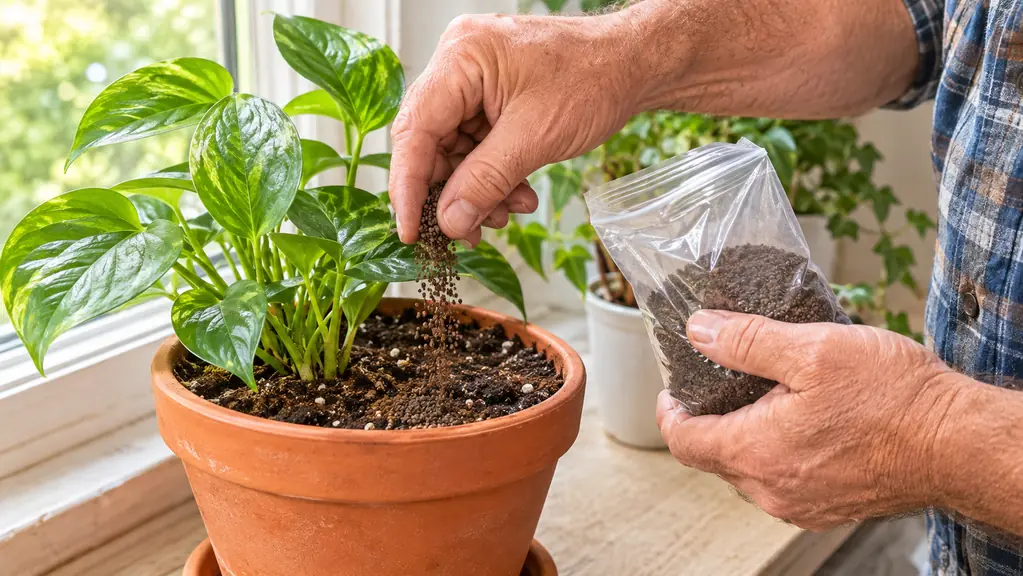
Here's the step most people skip. They sprinkle castings on top of the soil after the seeds are in, and then wonder why the seedlings don't seem to notice. The better way is to mix the castings into the seed starting mix before it ever goes in the tray, so the roots are swimming in it from day one. You can't do this after the fact without disturbing the seedlings, so it has to happen at the beginning.
I use about one part castings to three or four parts seed starting mix. It doesn't need to be exact. The castings are gentle enough that you'd have to work to hurt a seedling with them, which is more than I can say for synthetic fertilizer. If you've ever burned a flat of seedlings by mixing the feed too strong, you'll appreciate how forgiving this is. I mix mine in a big plastic tub with my hands, breaking up any lumps, then fill the trays.
The granules do something useful here beyond feeding. They're tiny, football-shaped particles, and they help keep the mix loose and aerated so the roots can breathe and water can move through. Think of them as a soil conditioner that happens to feed at the same time. That's the part that sold me on using castings every year instead of just when I remember to.
Step 3: Plant your seeds and water from below
With the castings mixed in, plant your seeds at the depth the packet calls for, same as always. The castings don't change that part. What does change is how you water. I set my trays in a pan with an inch or two of water and let them soak it up from below. That keeps the surface from crusting and keeps the fine castings right where the roots can reach them, instead of washing them to the edge of the tray.
One mistake I made my first season with castings was letting the trays dry out between waterings. Castings hold moisture well, but they can't conjure water out of thin air. Check the trays every morning. The top of the mix should feel like a wrung-out sponge, not a desert and not a swamp. If you're the kind of gardener who forgets to water, put the trays somewhere you'll see them every day, like the kitchen counter.
Warmth matters too. I put my trays on top of the refrigerator until the seeds sprout, then move them to a bright windowsill. The castings will keep the seedlings fed once they're up, but they still need light and warmth to get going. A seedling that's warm and fed but dark will stretch into something pale and weak, and no amount of castings will fix that. Light is the one thing I can't add to the soil.
Step 4: Put castings in the transplant hole
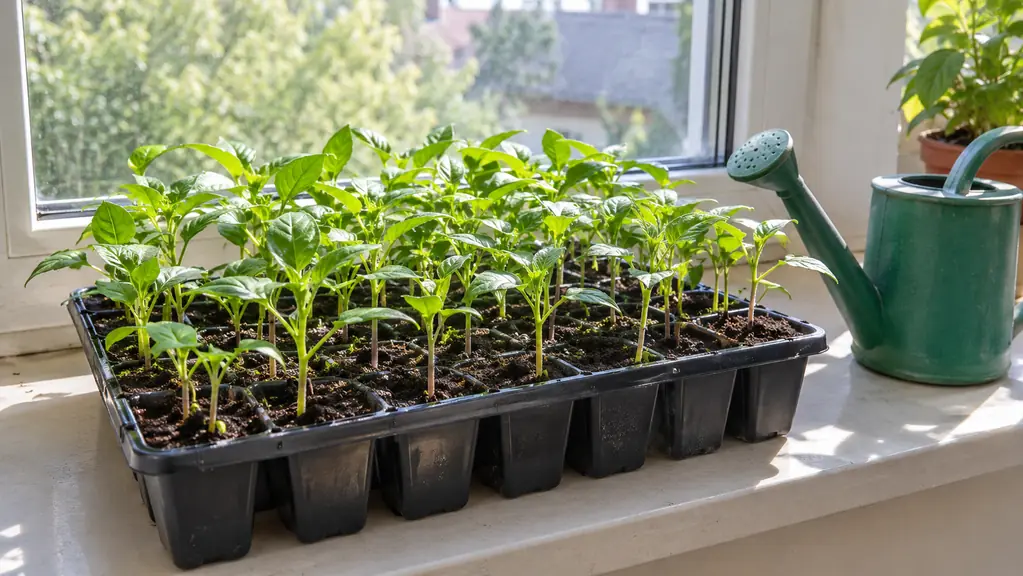
When your seedlings have their first set of true leaves, it's time to pot them up or get them ready for the garden. This is where the product's own instructions come in handy: put the castings in the hole during transplanting. I scoop a generous spoonful into the bottom of the hole, set the seedling in, and backfill. It takes about ten seconds, and I never skip it, even when I'm planting a whole flat in a hurry.
That little spoonful does a lot. The roots grow straight down into it and find food right when they're making the switch from pampered seedling to independent plant. It smooths the transplant shock you always see when a seedling goes from a cozy tray to a cold, wide world. I've compared trays side by side, one with castings in the hole and one without, and the difference shows up within a couple of weeks in the size of the stems and the color of the leaves.
For my raised beds, I use the same trick. I've got three Land Guard galvanized beds that I put in three springs ago to get above the clay, and every transplant hole gets its spoonful of castings. It's a small habit that pays off all season, and it's one of those things that's easier to do than to remember to do, so I keep the bag right next to the beds where I can't miss it.
Step 5: Top dress established potted plants three times a year
Potted plants are a different beast from garden plants. The soil in a pot gets exhausted because it's a closed system, and there's no worm activity or compost working its way down from the surface. That's why I top dress my potted plants with castings about three times a year, which is right in line with how the product is meant to be used. The instructions say to apply it above the root zone, and for pots that means the surface.
To top dress, I scratch an inch or so of the topsoil loose with my hori hori knife, sprinkle a thin layer of castings over the surface, and water it in. The water carries the goodness down to the root zone, and the granules break down slowly, so the plant gets a steady meal instead of a spike. I do this in early spring, midsummer, and early fall, and the plants seem to know the schedule.
I do this for my houseplants and my porch pots alike. The first time you do it, you might not notice anything dramatic. That's the point. The leaves just stay green, the plant keeps putting out new growth, and you stop worrying about whether it's hungry. For a potted plant, that steady background feeding is the difference between surviving and thriving, and it's the easiest chore on my whole list.
What Else Helps
Worm castings do a lot, but they're not the whole garden. I still keep my own compost going in the VIVOSUN tumbling composter by the kitchen door, and I work that into the beds in spring and fall. The castings are a boost; the compost is the foundation. Together they've turned my rocky red clay into soil that grows tomatoes worth bragging about, and I'd hate to give up either one.
For pests, I keep a bottle of Neem Bliss neem oil on the shelf and spray in the evening when aphids or powdery mildew show up on the squash. Healthy plants resist pests better than stressed ones, and steady feeding is part of that. But if something does show up, I'd rather deal with it early than wait for it to spread, and a spray of diluted neem oil with a little mild soap has been my go-to for two seasons now.
And I'll say the obvious thing: seedlings and potted plants still need decent light, consistent water, and a gardener who checks on them. Castings won't fix neglect, but they will make sure neglect isn't the only thing the plant is dealing with. Use them as part of a whole system, the same way you'd use compost and mulch and a little patience, and your seedlings will do what seedlings are supposed to do.
One more thing: don't feel like you have to use castings on every single plant to get value from them. If you only start a few tomatoes and a pot of basil, a single bag will last you years. A little goes a long way, and the peace of mind is worth more than the effort. Gardening is supposed to be a pleasure, and a bag of castings takes one more worry off your plate.
I've used Wiggle Worm castings for three seasons now, and I can't remember the last tray of seedlings I lost to damping off or a fertilizer burn.
Give your seedlings a steady start this season
A 4.5 pound bag of Wiggle Worm pure worm castings will see you through a whole spring of seed trays, transplant holes, and potted plants. It's OMRI listed, easy to use, and hard to get wrong.
Amazon Check Today's Price on Amazon →