
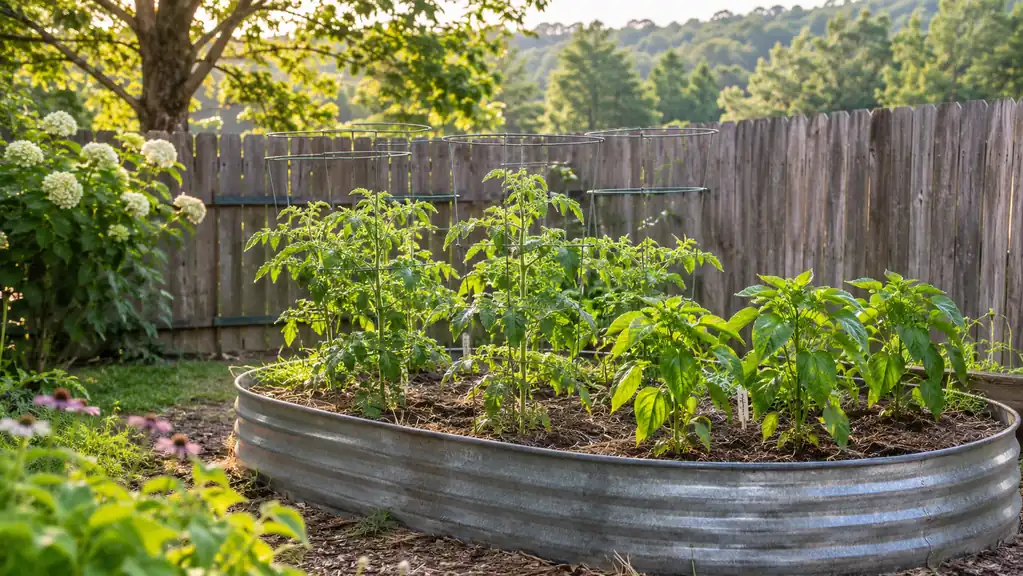
The first year I tried to garden in this yard, I dug straight into the native soil. It was rocky red clay, the kind that turns to brick in July and soup in March. I spent a whole weekend double-digging a patch near the back fence, and by the time I was done my lower back was screaming and my hands were raw. Everything I planted either stunted or drowned. The tomatoes turned yellow, the beans refused to climb, and the weeds came back faster than I could pull them. I almost gave up on the whole idea. Then I built my first raised bed, and the garden finally started behaving like a garden.
Raised beds are not a magic trick. They are simply a way to stop fighting the ground you were given and start building the soil your plants actually want. I have gardened organically for about twenty years now, and the last three of those have been in Land Guard galvanized raised beds. If you are starting from scratch, here is the step-by-step method I would use today, the same one I have used every spring since I put my beds together.
Start with a bed that will outlast the clay
The Land Guard galvanized raised garden bed kit is the one I have three of in my own backyard. It goes together in about five minutes, and the double-layer galvanized metal is built to shrug off rain and rust for years.
Amazon Check Today's Price on Amazon →Step 1: Choose the right spot and the right bed
Most vegetables want at least six hours of direct sun a day, and more is better for tomatoes, peppers, squash and beans. Walk your yard at a few different times of day and watch where the light actually reaches. Years ago my first wooden bed went in the shadiest corner because it was closest to the house, and my lettuce thrived while my tomatoes sulked. The tomatoes stretched toward the light, stayed pale, and produced maybe three fruit all summer. Now the beds sit in the open middle of the yard, where they get sun from mid-morning until early evening, and everything is happier.
For the bed itself, I use the Land Guard 6 by 3 by 1 foot galvanized raised garden bed kit. That size is easy to reach across without stepping into the soil, and the one-foot depth gives roots room to stretch. The kit holds 15.55 cubic feet of soil, which is enough for a serious vegetable patch, and the whole thing weighs only 14.1 pounds, so an empty kit is easy to carry out to the yard. The panels are made of Q195 0.78mm galvanized metal sheet, and the double-layer galvanized finish is the reason mine have lasted three years with no signs of rust. Assembly takes about five minutes, which honestly surprised me the first time. The pieces fit together easily, and I had all three beds set up in a single afternoon, even with my arthritis acting up.
Set the bed on level ground. If your yard slopes, dig down a little on the high side rather than trying to shim it with rocks. A wobbly bed will only get worse as the soil settles. I learned this the hard way with a wooden bed years ago, when one corner sank six inches over the winter and the whole frame twisted. Level ground also means water soaks in evenly, so your seedlings do not end up with a dry spot at one end and a puddle at the other. Take the time to get this right before you fill the bed, because moving a full bed is a job you do not want.
Step 2: Fill it with soil you build yourself
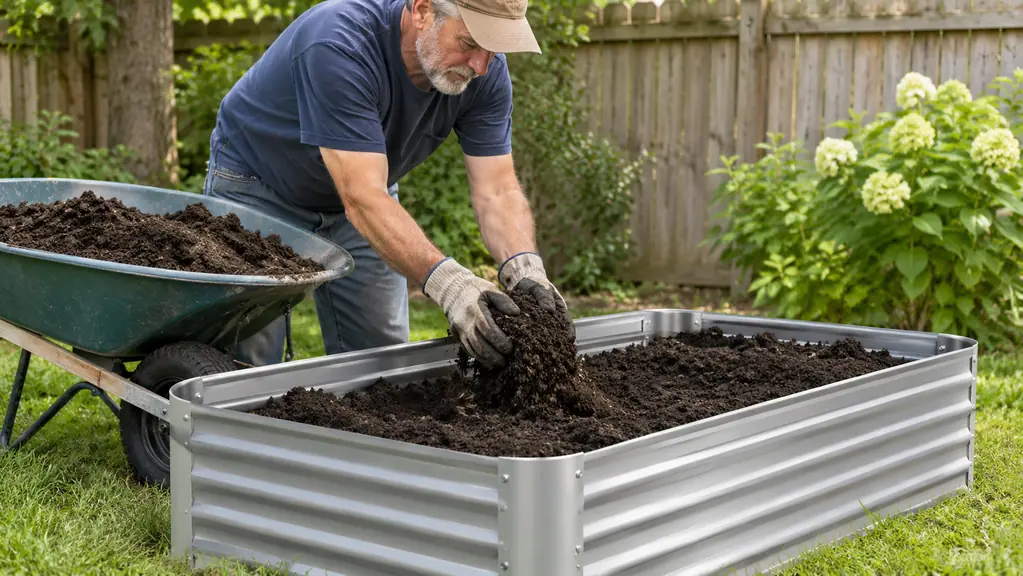
The biggest mistake new raised bed gardeners make is filling the bed with whatever bagged soil is on sale. That is a fine start, but organic gardening really begins when you start treating the soil as a living thing. I fill my beds with a mix of good garden soil and compost, about two parts soil to one part compost, and I add more compost on top every spring and every fall. Years ago I filled a wooden bed with plain topsoil alone, and it settled so much that by August the surface was four inches below the top of the frame. I had to add another two bags of compost just to bring it back up.
If you do not have your own compost yet, buy a few bags of quality compost and mix it in. Over time, your own kitchen scraps and yard waste will take over. I have used a VIVOSUN dual-chamber tumbling composter for two years now, and it sits right near my kitchen door. One chamber cooks while I fill the other, and I never have to turn a pile by hand. My lower back thanks me. Before that I had an open pile that took a year to break down, attracted every critter in the neighborhood, and was hard on my back every time I turned it. The tumbling composter changed the whole rhythm of my garden, because I finally had finished compost when I needed it instead of a half-rotted heap.
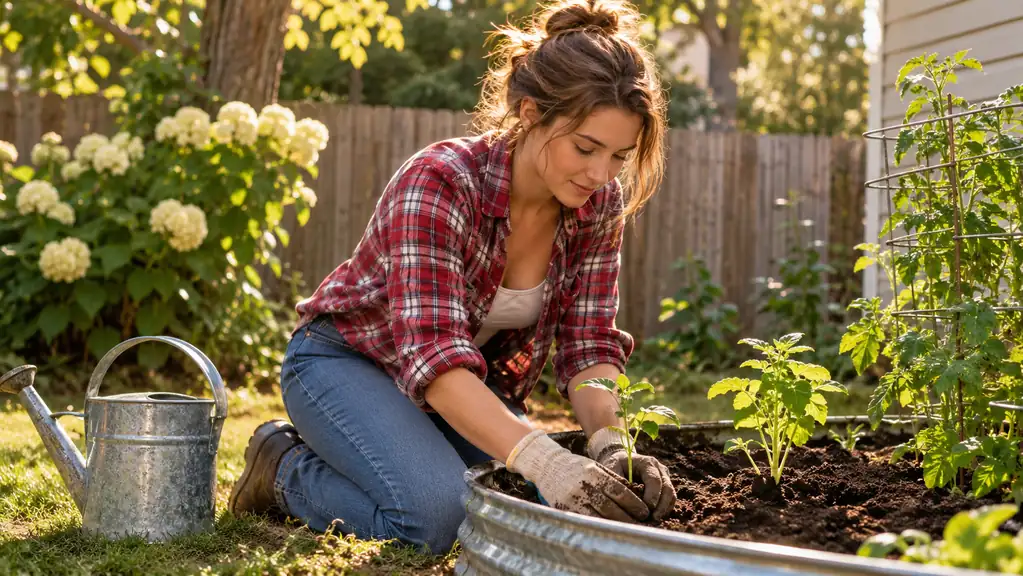
Worm castings are another addition I rely on. I use Wiggle Worm pure worm castings in my seed starting mix, in transplant holes, and as a top dressing around heavy feeders like tomatoes and squash. A handful in the hole at planting time gives the roots something to find early on. I have used them for about three seasons now, and I notice the difference most in seedlings, which come up stockier and greener than they did before I started adding castings. I also sprinkle a little in the bottom of each transplant hole, right where the roots will reach it in the first week.
Step 3: Plant what you will actually eat and tend
It is tempting to plant one of everything. I did that my first year and spent the whole summer overwhelmed, with fourteen kinds of vegetables and not enough time to tend any of them properly. Start with a short list of things your household truly eats: for me, that is tomatoes, peppers, green beans, squash, kale and lettuce, plus a few herbs and a strip of zinnias and marigolds for the pollinators. You can always add more beds later if you find yourself wanting more. Last spring I added a few more basil plants and a row of cut flowers along the edge of one bed, and it was the best decision I made all season.
Read the back of each seed packet for spacing and depth, and do not crowd things just because the bed looks empty in May. A tomato plant needs room to breathe. I use my Nisaku hori hori knife to measure planting depth and to make clean holes for transplants. It has been my everyday hand tool for four years, and it replaced a trowel and a cheap weeder that both bent within a season. For seeds, I make a shallow trench with the edge of the blade, drop the seeds in, and cover them with a thin layer of soil. For transplants, I use the pointed tip to open a hole just deep enough, drop the seedling in, and firm the soil around it.
Water new seedlings gently and often until they are established, then switch to deep, less frequent watering. A soaker hose or a watering can aimed at the base of the plant beats a sprinkler that wets the leaves and invites disease. I water in the morning when I can, so the leaves dry before evening, and I check the soil with my finger before I water again. If the top inch is dry, I water; if it is still damp, I wait. New transplants get a little water every day for the first week, then I ease them into the regular schedule.
Step 4: Feed the soil, not just the plants
Organic gardening is mostly about keeping the soil biology happy. Worms, fungi and bacteria break down organic matter into food that plant roots can use. When I add compost, worm castings and mulch, I am feeding that whole system, and the plants feed themselves. The soil in my raised beds is nothing like the red clay a few feet away. It is dark, crumbly, and full of earthworms, and it smells like a forest floor after rain. That is the difference between growing in dirt and growing in living soil.
Every spring, I spread an inch or two of compost over the surface of each bed and let the worms work it in. I do the same in the fall after I pull the spent plants. The soil in my beds gets darker and richer every year, and I notice the difference in how the vegetables taste. Last summer I picked a tomato from the bed and ate it warm off the vine, and it tasted the way tomatoes did at my grandmother's house when I was a kid. That is what building soil does. It is slow work, but it compounds, the way saving money does.
Mulch is part of feeding the soil too. A few inches of straw or shredded leaves on top of the soil holds in moisture, keeps the soil temperature steady, and slowly breaks down into more organic matter. It also means fewer weeds, which means less time on my knees. I put down mulch in late spring, after the soil has warmed up, and I top it up again in midsummer. By fall, the bottom layer has mostly disappeared into the soil, which is exactly what I want. I use shredded leaves from my own yard, so the mulch costs me nothing but a little time with the lawn mower.
Step 5: Deal with pests the organic way, early and often
You will have pests. Everyone does. The trick is to walk the garden every day, look under the leaves, and catch problems while they are small. A few aphids on one plant is a five-minute fix. A colony across three beds is a weekend project. I check my beds in the morning with my coffee, and I have caught more problems that way than with any spray or trap. Last year I found a cluster of squash bug eggs on the underside of a leaf, wiped them off with a paper towel, and never saw a single squash bug all season.
For aphids and powdery mildew on my squash, I have used Neem Bliss pure cold-pressed neem oil for about two seasons. I dilute it with water and a little mild soap and spray in the evening, when the beneficial insects are less active and the sun will not burn the wet leaves. It is not a cure-all, but it keeps small problems from becoming big ones. Last year I caught powdery mildew on the squash in early July, sprayed three evenings in a row, and the plants carried on producing into September. I also use it on the beans when the aphids show up, and it does the same job there.
I also leave room for the good guys. Marigolds and zinnias bring in pollinators and predatory insects, and I never spray anything that would hurt them. A garden with a healthy insect population can handle most problems on its own. When I see ladybug larvae on the beans, I leave them alone, because they are eating the aphids for me. The goal is not a sterile garden; it is a balanced one. If I have to spray, I spray only the plant that needs it, and I do it in the evening so the bees and butterflies are already done for the day.
What Else Helps
A few extras make the whole system easier. A good pair of gloves saves your hands. A sturdy wheelbarrow saves your back. A soil thermometer tells you when the ground is warm enough for warm-season crops. And a simple garden journal, even just a notebook, helps you remember what you planted where and what worked. I keep mine in the kitchen drawer, and every spring I flip back through it before I order seeds. It has saved me from repeating more mistakes than any book I own.
If you have heavy clay like mine, raised beds are the single best investment you can make. You are not just buying a bed; you are buying years of better soil, fewer weeds, and a garden you can actually tend without wrecking your back. The Land Guard beds I have are still going strong after three seasons, and I expect them to last a good while longer. That is the kind of tool I am happy to recommend to anyone who is tired of fighting their yard.
The soil in my beds gets darker and richer every year, and I notice the difference in how the vegetables taste.
Give your garden a head start this season
The Land Guard galvanized raised garden bed kit is the bed I trust in my own yard. It is easy to set up, built to last, and ready for soil, compost and seedlings within minutes of arriving.
Amazon Check Today's Price on Amazon →