
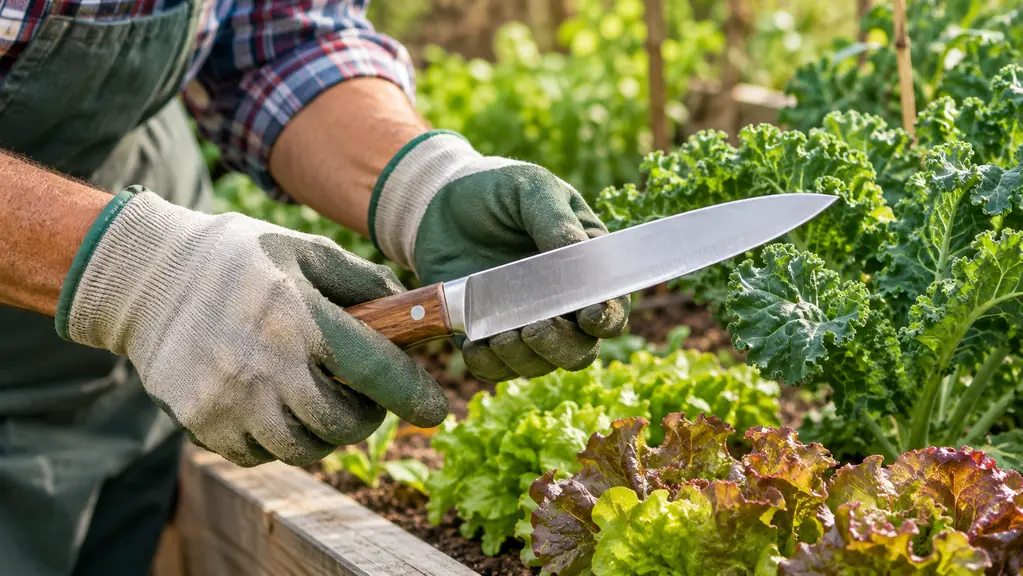
Some jobs in the garden just never end. Weeding is one of them. Dividing perennials is another, except it only rolls around every few years, which means I always forget how much easier it is with the right tool in my hand. I'm Hazel Whitford, and after about 20 years of organic gardening on a half-acre in the Arkansas Ozarks, I've settled on one hand tool for both chores: the Nisaku hori hori knife. It replaced a trowel and a cheap weeder that bent in my rocky red clay the first season I owned them. I have three raised beds, each six feet by three feet, and a strip of zinnias and marigolds along the fence for the pollinators. Most of my soil is red clay with a generous helping of rocks, which is exactly the kind of ground that punishes a flimsy tool.
This guide is the method I actually use, the one that keeps my hands from aching and my back from complaining the next morning. If you garden in raised beds like I do, or in heavy soil, or anywhere that weeds seem to have read the same gardening books you have, this is for you. I am not here to sell you on a fancy system. I am going to walk you through the five steps I follow, the mistakes I have made along the way, and the small habits that make the difference between a pleasant morning and a week of sore muscles.
The one hand tool that replaced my trowel and weeder
I've used the Nisaku hori hori for about four years now. It divides, weeds, transplants, and measures planting depth, all with one blade. If you want to see today's price, the button below takes you straight to the listing.
Amazon Check Today's Price on Amazon →Step 1: Water the bed the day before
This is the step most people skip, and it's the one that makes everything else easier. Moist soil releases roots without a fight. Dry soil, especially the red clay I garden in, holds onto them like it's storing them for winter. The evening before I plan to weed or divide, I give the bed a good soak. Not a sprinkle. A real drink, slow enough that the water soaks down several inches. I usually set the hose on a trickle and move it around the bed for about twenty minutes, or until a finger pushed into the soil comes out cool and damp a hand's depth down. On a hot July evening, I've been known to water in the morning instead and wait an hour before I start. The point is the same: give the roots a reason to let go.
For weeding, moist soil means the whole root comes out instead of snapping off at the surface. For dividing, it means the root ball is flexible and the clump separates with less pulling. I've tested both ways more times than I care to count. One dry August I tried to divide a clump of daylilies without watering first, and I spent the better part of an hour fighting a root ball as hard as a brick. The next spring, with the same bed soaked the night before, the same kind of clump lifted in about ten minutes. Water first, thank me later.
One more thing about watering: it also softens the soil for the blade. A dry bed can be like cutting through concrete, and that is hard on the tool and on your hands. When the soil is moist, the Nisaku slides in like a knife into butter. I have learned to check the soil first. If the blade goes in easily with just the weight of my hand, I am good to go. If I have to lean on it, I stop and water. That simple check has saved me a lot of frustration.
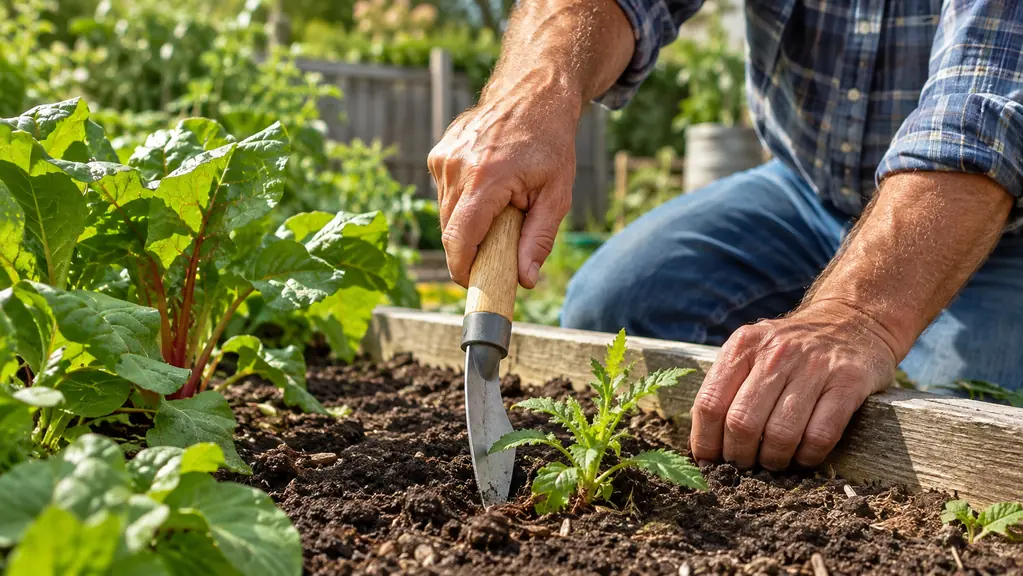
Step 2: Loosen the soil around the weed or the clump
Take the Nisaku hori hori and push the blade straight down into the soil a couple of inches away from the weed's crown. The serrated edge does the cutting as you work it back and forth, and the straight edge does the prying. You are not swinging at the plant. You are cutting the roots around it so the weed lifts out whole. For a dandelion with a taproot, I push the blade in at a slight angle, rock it side to side, and repeat on the other side. Two cuts, then the root comes up with a soft pop. For a clump of crabgrass, I slice a small circle around the whole thing and lift it like a plug.
For a perennial you're dividing, the same move works on a bigger scale. Slice down in a circle around the entire clump, a few inches out from the crown. This severs the outer roots and defines the piece you're going to lift. The 7.25-inch stainless steel blade is long enough to get under most of the clump in one pass, and the inch markings on the blade double as a depth gauge when I'm planting bulbs later. I have used those markings more than I expected. When I tuck daffodil bulbs in along the fence line each fall, I push the blade in to the three-inch line and know the hole is the right depth without reaching for a ruler.
The inch markings on the blade are one of the reasons I reach for this tool instead of a trowel. When I plant garlic in October, I use the blade to draw a furrow to the two-inch line, drop the cloves, and cover them over. When I set out tomato transplants in May, I use the same markings to check that the hole is deep enough. It is a small thing, but it means I do not have to carry a ruler into the garden.
Step 3: Pry, don't yank
Here's where the Nisaku earns its keep. Instead of grabbing the weed by the stem and pulling, which is how I spent my first few years and how I threw out my back one memorable April, you use the blade as a lever. Slide it under the root, tilt the handle back, and the soil does the work. That April, I had spent a long afternoon yanking bindweed out of a bed of squash, and by supper I could barely stand up straight. It took a week before my back felt normal. Since I started prying with the hori hori, I have not had a single day like that.
The curved blade shape and the wooden handle give you a comfortable grip whether you're right-handed or left-handed, which matters to me because my hands swap tools constantly as I move down a bed. The ergonomic handle is kind to my mild arthritis, and prying instead of pulling keeps the strain out of my lower back. For deep taproots, work the blade down in stages, wiggling the serrated edge side to side as you go. Each wiggle cuts a few more root hairs, and after three or four passes the root comes free with a gentle tug. It feels almost like the plant is helping.
I should also say something about the serrated edge. It is not just for show. When I hit a root that resists the straight edge, I flip the blade over and let the serrations chew through it. This is especially handy around established shrubs, where I am weeding without wanting to damage the shallow roots of the shrub itself. The serrations cut the weed roots without biting into the good roots, as long as I keep the blade angled away from the plant I want to keep.
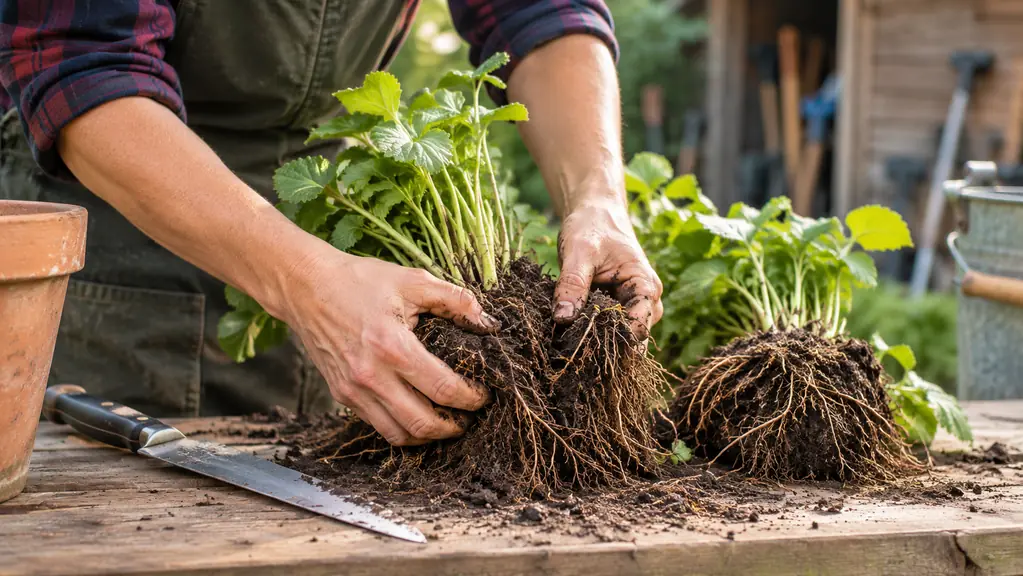
Step 4: Lift the clump and split it with the blade
Once the clump is loose, lift it out of the hole and set it on the path or a tarp. This is the moment a lot of gardeners reach for a second tool, but you don't need one. Lay the clump on its side and use the straight edge of the hori hori like a knife to cut down through the crown. The blade is plain on one side and serrated on the other, so you can choose whichever edge suits the plant. For a soft crown like hosta, the straight edge slices through cleanly. For a tough, fibrous crown like daylily or ornamental grass, the serrated edge saws back and forth without mashing the tissue.
For tough, woody crowns, I set the blade on the crown and give the top of the handle a firm push with my palm. The weight of the blade and the leverage of the 5.25-inch handle do the rest. Each division should have a few healthy shoots and a decent handful of roots. If a piece comes out without roots, it goes in the compost pile, not back in the ground. I learned that lesson with a clump of bee balm that I split into pieces too small to survive. Now I aim for divisions about the size of a clenched fist, and I replant them the same day whenever I can.
If you are dividing something large, like a three-year-old clump of daylilies, you can also use the blade to cut the root ball into sections while it is still in the hole. Slice straight down through the middle, then lift each section with the blade. This is a little more work, but it saves your back from lifting the whole clump at once. I do this whenever the clump is bigger than a dinner plate.
Step 5: Replant, water in, and clean the blade
Replant divisions at the same depth they were growing before, firm the soil gently, and water them in well. This settles the soil around the roots and removes air pockets. For the first week or two, keep an eye on them. Divided perennials look a little sad at first, but they bounce back fast if they don't dry out. I usually water new divisions every other day for the first two weeks unless we get rain, and I shade them with a bit of row cover on the hottest afternoons. By the end of the month, you can hardly tell they were moved.
Then clean the blade. I wipe mine with a damp cloth and let it dry before it goes back into the faux leather sheath. The stainless steel resists rust, but I've found that a clean tool is a tool that's ready when I am. The sheath hangs neatly on a peg rack in my shed, which keeps it out of the weather and within reach. About twice a season I give the blade a wipe with a little oil on a rag, and the wooden handle gets a light rub too. It takes two minutes, and it keeps the tool from developing rough spots that bother my hands.
A note on the sheath: the faux leather sheath that comes with the Nisaku is simple, but it does the job. I keep the tool in it when it is hanging on the peg rack, and I also carry it that way when I walk out to the compost pile. The sheath protects the blade and keeps the edge from dulling against other tools. It also means I never grab the bare blade by accident when I reach into the shed in the dark.
What Else Helps
The Nisaku hori hori does the digging, but a few other habits make the whole job easier on the gardener. I keep a bucket of water beside the bed and drop weeds straight into it, roots and all, so they don't re-root in the path. I mulch my beds with a couple of inches of compost each spring, which means fewer weeds to pull in the first place. And I divide in the morning, before the heat of the day, so both the plants and I have time to recover. On a cool June morning, I can work through a whole bed of iris before the sun gets high, and the divisions have the rest of the day to settle in.
If your soil is as rocky as mine, work the blade in at an angle rather than straight down. The blade will find its way between the rocks, and the serrated edge will cut through the small roots that snag on them. It's not a race. A slow, steady morning in the garden beats a frantic afternoon every time. I also keep a small stool or a kneeling pad near the beds, because the less I bend, the longer I can garden. Between the hori hori and a few good habits, I can put in a full morning of weeding and still walk upright to lunch.
The Nisaku hori hori replaced my trowel and my cheap weeder. Four years later, it's still the first tool I reach for.
Ready to make weeding and dividing easier on your hands?
The Nisaku hori hori is the tool I've used for four years, and it's the one I'd buy again tomorrow. It weeds, divides, transplants, and measures planting depth, all in one hand. Check today's price at the link below.
Amazon Check Today's Price on Amazon →