
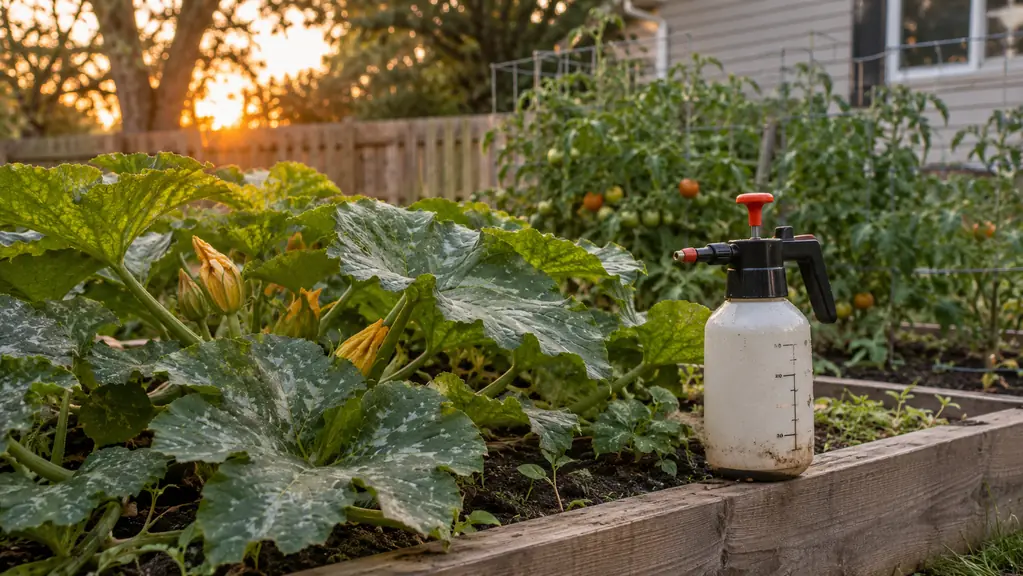
Every gardener I know has a season where things go sideways in a hurry. Mine was two summers ago. The aphids showed up first, clustered on the undersides of my squash leaves, and then the powdery mildew followed, dusting the older leaves with that white film that spreads faster than you expect. I tried hosing the aphids off. I picked leaves off. I even made a garlic spray that smelled worse than the problem. Nothing held.
The fix that finally worked was simpler than I expected. I started using plantonix Neem Bliss, a pure cold-pressed neem oil concentrate that I mix with water and a little mild soap and spray on the plants in the evening. I have used it for about two seasons now, mostly on squash, and it has become the first thing I reach for when something looks off. Here is the routine I follow, step by step, so you can skip the trial and error I went through.
If you have never used neem oil before, the short version is this: it is a plant-based oil pressed from neem seeds, and it is one of the more useful things an organic gardener can keep on hand. It works on a range of soft-bodied insects and on fungal problems like powdery mildew, and it breaks down without leaving harsh residue behind. The long version is the five steps below, because how you mix it and when you spray it matters as much as the oil itself.
The neem oil I keep on the shelf all season
plantonix Neem Bliss is a 16-ounce jug of pure, cold-pressed neem oil concentrate. One jug mixes into many gallons of spray, and it has earned a permanent spot in my garden shed.
Amazon Check Today's Price on Amazon →Why I Reach for Neem Oil First
Neem oil gets recommended for a lot of things, and that can make it sound like a cure-all, which it is not. What it is, is a good all-around tool for the problems that actually show up in a backyard garden. Aphids, whiteflies, spider mites, powdery mildew, black spot on roses: neem oil is a reasonable first choice for all of them, and it is gentle enough that I do not worry about the bees the way I would with a harsher spray.
I also like it because it is not a mystery mix. The bottle is a single ingredient: pure, cold-pressed neem oil. When I read the label on plantonix Neem Bliss, I know exactly what I am putting on my food plants. That matters to me more now than it did when I started gardening twenty years ago.
And it earns its place by being simple to store. A 16-ounce jug of concentrate lasts me most of a season, because a little goes into a whole gallon of water. I would rather have one thing that solves most problems than a shelf full of specialty sprays I use once.
Step 1: Confirm what you are actually dealing with
Before you mix anything, take a good look at the plant. Aphids are small, soft-bodied insects that cluster on the undersides of leaves and along new growth. They are usually easy to spot once you turn a leaf over, because they gather in groups. If you see curled or distorted leaves, sticky honeydew, or ants wandering up and down the stem, aphids are likely the cause. The ants are a giveaway: they farm the aphids for honeydew and will defend them from ladybugs.
Powdery mildew is easier to spot. It starts as pale white spots on the older, lower leaves and spreads upward, especially when nights are cool and the garden is crowded. The leaves look dusted with flour. It rarely kills a plant outright, but it weakens it and cuts the harvest, so it is worth treating early. You can have both problems at once, which is what happened to my squash that first summer.
Why bother identifying first? Because neem oil is a good all-around treatment, but the conditions that brought the problem matter too. If you fix the spray and not the crowding or the overhead watering, the pests will come back. Knowing which one you are fighting tells you what else to change, and it also tells you how long to keep spraying.
Step 2: Mix the spray the right way
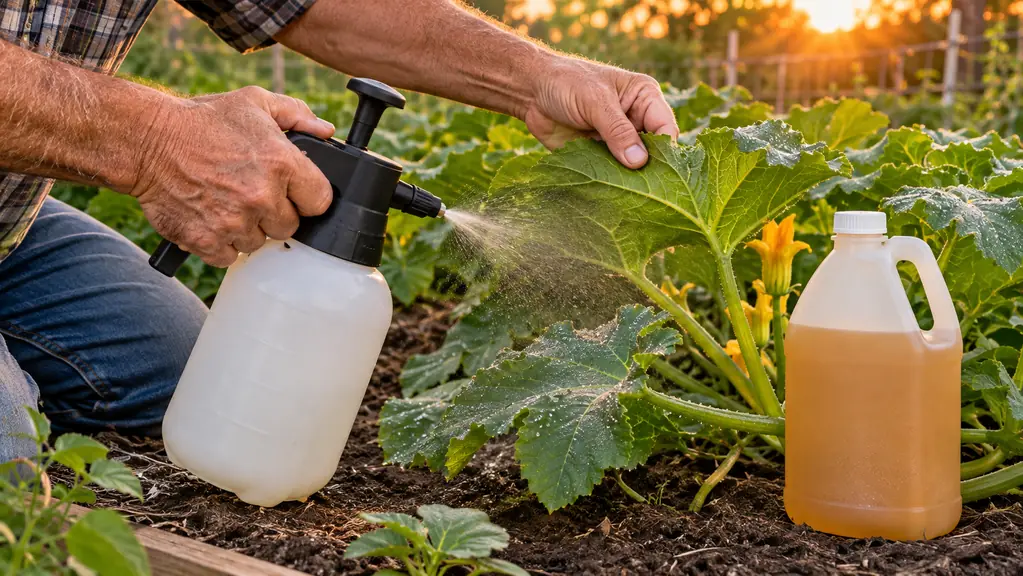
Neem oil is a concentrate, and oil and water do not mix on their own. I put about a tablespoon of plantonix Neem Bliss into a gallon of warm water, add a teaspoon of mild dish soap, and shake it well. The soap acts as an emulsifier, helping the oil spread through the water instead of floating on top. Warm water blends it faster than cold, so I run the tap until it is warm before I fill the sprayer.
Shake the jug before you measure, because the oil separates as it sits. And mix only what you will use that same evening. The diluted spray does not keep well, so there is no point making extra. A one-gallon pump sprayer is enough for my whole vegetable garden when the problem is contained, and it is easier on my hands than a smaller trigger bottle that needs constant squeezing.
I will add a note about the soap. Use a plain, mild dish soap without degreasers or added scents. I have also used a commercial spreader sticker, but a teaspoon of the soap I already keep in the kitchen works fine and saves a trip to the store. If the water in your area is hard, a little more soap can help the oil stay mixed, but start with the smaller amount and see how it looks.
Step 3: Test a small patch before you spray everything
I learned this the hard way. One hot afternoon, I sprayed a young kale plant that was already stressed from the heat, and the leaves scorched where the oil sat in the sun. The plant recovered, but it set me back a couple of weeks. Now I always test first, and I want to save you the same lesson.
Choose a couple of leaves on the plant that is worst off. Spray them the same way you plan to spray the whole plant, then wait a day. If the leaves look normal after 24 hours, you are safe to continue. If they show burn spots, dilute the mix a little more or wait for cooler weather before you try again.
The test matters most for young seedlings and for plants that are already struggling with drought or heat. A healthy, well-watered plant handles the oil fine. A stressed one needs a gentler hand. If your plants are wilting in the afternoon heat, water them deeply the evening before you spray, and give them a day to recover first.
Step 4: Spray in the evening and cover the undersides
Evening is the right time for two reasons. The oil needs time to dry before the sun hits it, and the bees and other pollinators have mostly gone home for the day. I aim to finish spraying about an hour before dusk, so the leaves are dry by morning. If evening does not work for you, an overcast morning is the next best thing, as long as the leaves are not wet with dew.
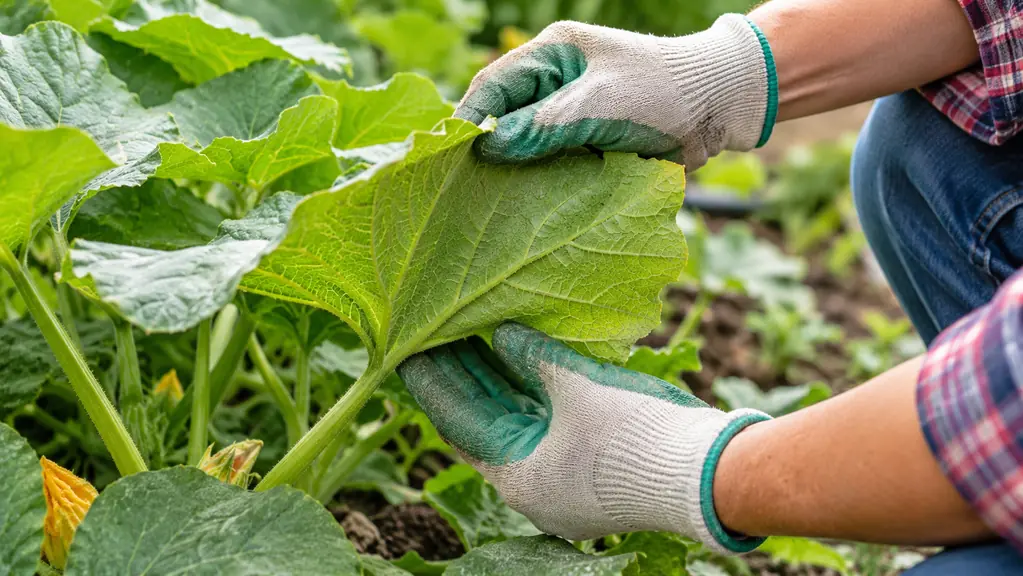
Spray the undersides of the leaves first. That is where the aphids are, and it is easy to miss them if you only spray what you can see from above. Then go over the tops of the leaves and the stems. For powdery mildew, make sure the older, lower leaves are covered, because that is where the mildew starts. I work from the bottom of the plant upward so I do not miss the lower leaves.
Use a fine mist rather than a hard stream. A hard stream knocks aphids off, which sounds good, but it also spreads them to neighboring plants. The mist coats them with oil where they sit. I get closer to the plant than my instincts want me to and let the spray settle on the leaves until they glisten, without soaking the soil. The goal is a thin, even coat, not a drenching.
Step 5: Repeat on a schedule, not just when you remember
Neem oil works gradually. It coats the insects and interferes with their feeding and their life cycle, but it does not wipe out a colony in one pass the way a harsh contact spray might. The eggs that are already on the leaves hatch on their own schedule, so you have to stay ahead of them. Patience is part of the method.
I spray every 7 to 10 days until the pests are gone, and I reapply after a heavy rain because the rain washes the oil off. For powdery mildew, I keep going for a few weeks even after the new growth looks clean, because the mildew spores are still around and will try to come back. It feels like overkill at the time, but the extra applications are what make it stick.
Keep checking the undersides of the leaves each time you water. The day I see clean new growth with no aphids and no white dust, I know the routine has done its job. That is usually three to four weeks after I started. After that, I go back to spraying only if something new shows up.
Common Mistakes I Made So You Do Not Have To
The first mistake was spraying in the middle of the day. The oil and the sun together burned the leaves, and I blamed the oil for weeks before I realized the timing was the problem. Spray in the evening and you avoid the whole issue.
The second mistake was spraying only the tops of the leaves. Aphids do not live on top. They live underneath, in the folds of new growth, and if you do not lift the leaves and spray where they actually are, you are just wetting the plant and calling it done.
The third mistake was quitting too soon. I saw the aphids thin out after the first spray and assumed the job was finished. A week later they were back, because the eggs had hatched. The schedule is not a suggestion. Stick with it for the full three to four weeks.
What Else Helps
Spraying is only half the job. The rest is making the garden less welcoming to the problem in the first place. I space my squash farther apart now so air moves through the leaves, and I water at the base of the plants instead of overhead. Wet leaves are what powdery mildew wants, and crowded leaves are what it gets.
I also pull the worst leaves off before I spray and throw them in the trash, not the compost pile, because the spores survive in compost. And I keep a few things blooming nearby, like the marigolds and zinnias along the edge of the bed, to give ladybugs and lacewings somewhere to live. They do more aphid control in a week than I could do with a spray bottle.
Finally, the soil matters more than people expect. Plants growing in rich, healthy soil with plenty of compost and a little worm castings are simply less attractive to pests. That is the part of gardening that is easy to skip, but it is the part that keeps problems small in the first place.
I will leave you with this. The neem oil did not make my garden perfect. Nothing does. But it gave me a simple, dependable answer for the two problems that used to send me into a panic every summer, and that is worth a lot when you are standing in the vegetable patch at dusk with a sprayer in your hand.
Two evenings after my first spray, the aphids on my squash had thinned out enough that I could see clean new growth coming in. That is when I stopped doubting the routine.
Keep a jug ready before the pests find your garden
A 16-ounce jug of plantonix Neem Bliss concentrate mixes into many gallons of spray. Mix it fresh, spray in the evening, and stay on the schedule. The routine works.
Amazon Check Today's Price on Amazon →